How to grout tiles
Once the tiles have been laid and left to set, it’s time to start grouting! Always ensure that you have the correct grout for your tile type and background material, if you’re unsure then contact the grout manufacturer or the Betahome experts for advice.
- Make sure you leave enough time for you tiles to fully set, this varies depending on the adhesive, so check the setting times on the adhesive bag before getting started.
- Mix water and grout powder in a mixing bucket as instructed on the packaging. Be careful not to make too much as it will harden quickly and become unusable.
(Note: when mixing grout for walls, make the grout slightly thicker as it will run down the walls otherwise)
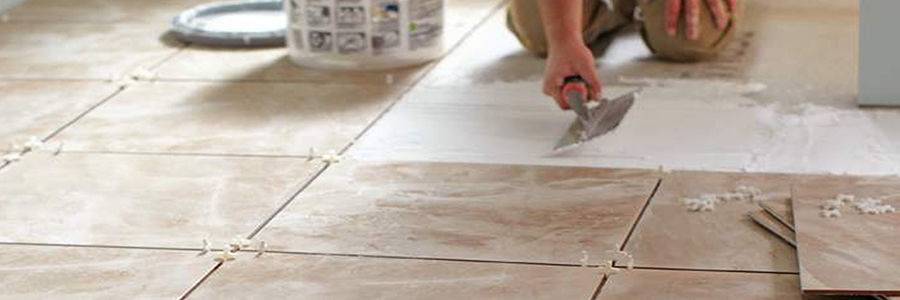
- Place some grout on the tiles, hold the grout float at a 45° angle and apply the grout ensuring all of the joints are filled.
- Once all of the joints between the tiles are grouted, leave it to dry for 10 - 15 minutes then wipe down the tile surface with a damp sponge. Be careful not to put too much pressure on the grout joints.
(Note: tiles may need a second wash down to fully rid them of grout residue) - Leave the tiles for another 60 minutes (approximately) to let the grout harden a little more. Hold your grout profiler at a 45° angle and drag it across to take off any excess grout and smooth it off.
- Using a clean cloth, polish down the tiles until completely clean.
Finishing
It may be necessary to waterproof your tiles in certain places, it’s recommended this is done using silicone. Follow these steps to finish your project off:
- Cut the end of the silicone cartridge slightly wider than the sealant gap and place it into the caulking gun.
- Hold the tip at a 45° angle and apply into the corners, squeezing the caulking gun and working from one end to the other whilst maintaining an even and consistent amount of silicone.
- After application, use a sealant shaper or a wet soapy finger (wear a rubber glove) to take off any silicone and smooth out the edges.


