Care and maintenance of ceramic tiles
After finishing your tiling project, you should make sure that the tiles are taken care of and maintained.
5 ways to care for, maintain and clean your bathroom tiles
Immediately after installing the tiles, fill the gaps between the tiles with good quality grout.
To revitalise old tiles you can remove and replace cracked or discoloured grout to give a fresh finish.
For better cleaning, use alkaline detergent and warm water.
Do not use acidic cleaners or bleaches.
- Replace damaged tiles...
Replacing damaged tiles
Sometimes you may have to replace damaged tiles. Don't worry, replacing them is relatively simple, just follow these simple steps:
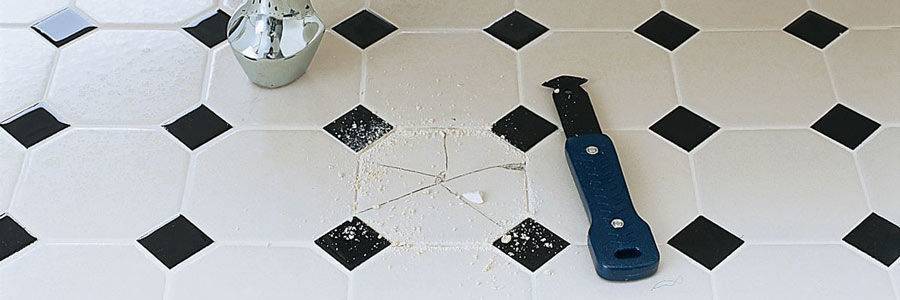
Using a special spatula, remove the grout around the damaged tile. Be sure to do this slowly to prevent damage to any of the other tiles.
Make 5 holes in the tile, 4 holes in the 4 corners of each tile and 1 hole in the center. (If the tile is large, you will probably need more holes). Take care to puncture the tiles only and not to damage the surface beneath the tiles.
Using a chisel and hammer, connect the holes created in an x-shape. This loosens the parts of the damaged tile. Take care to avoid damaging the surrounding tiles.
After removing the damaged tile, scrape away the old adhesive to make the mounting surface smooth.
Apply tile adhesive to the back of the new tile (this is easier than applying adhesive directly to the surface). Place the tile on the surface and press it to make sure it sticks.
Place tile spacers to ensure you have a consistent spacing around the tile. Once the adhesive has set, remove the spacers and re-grout.


